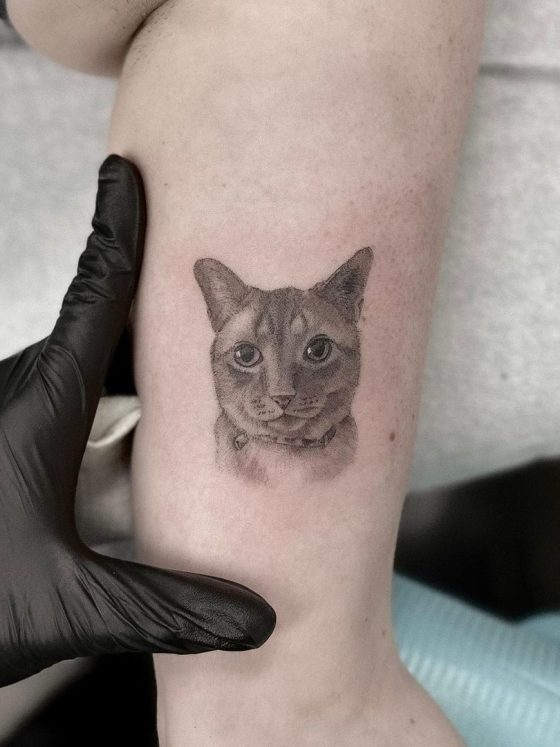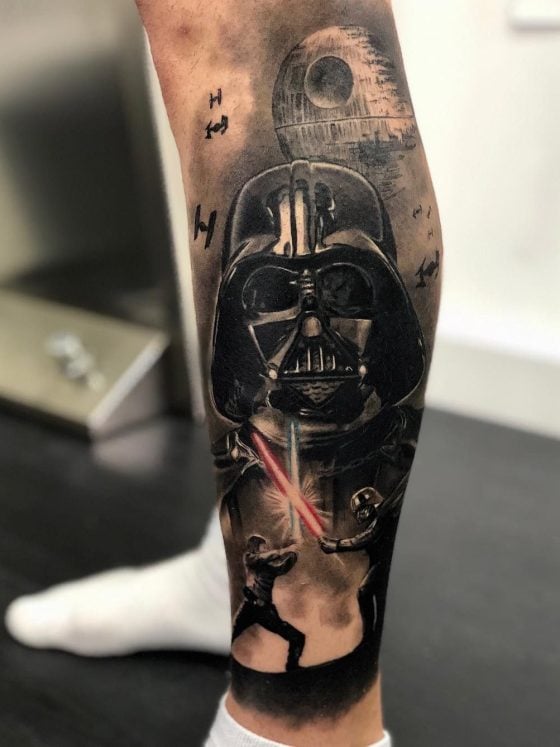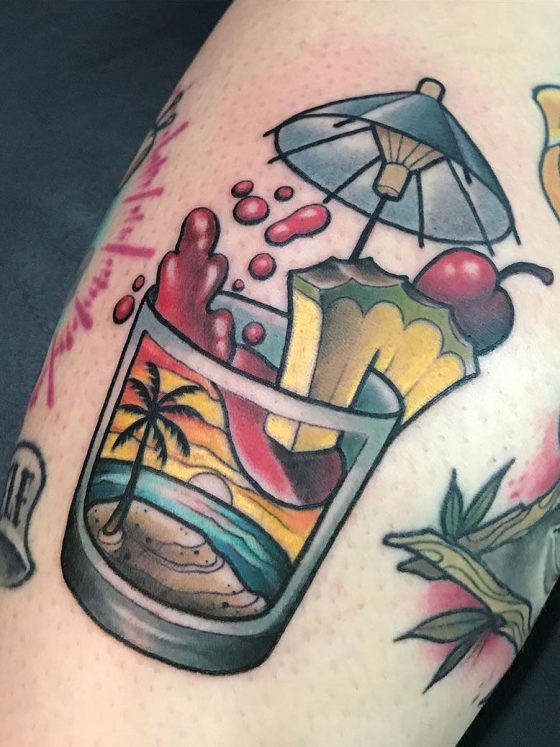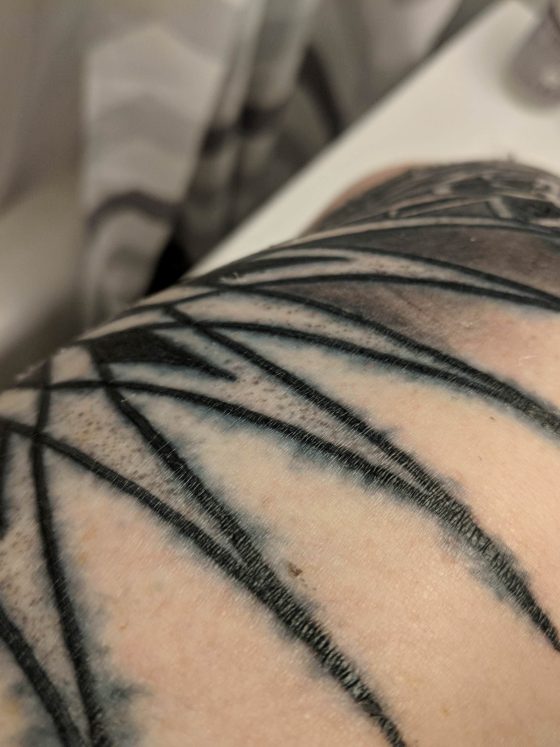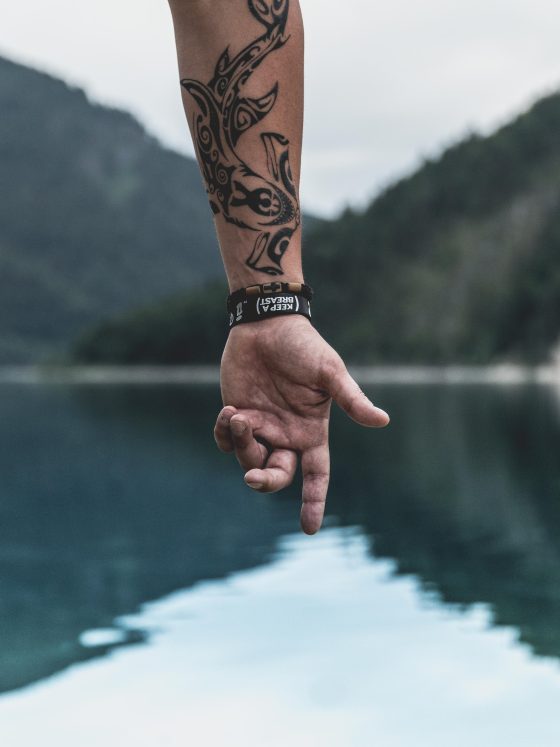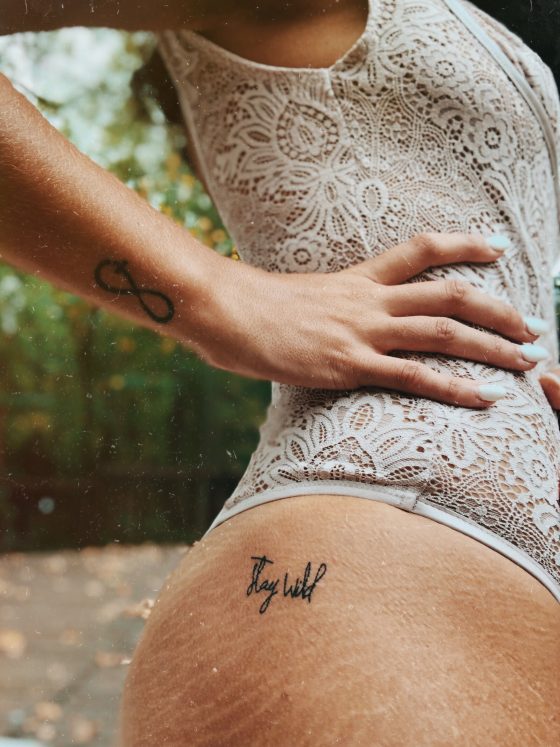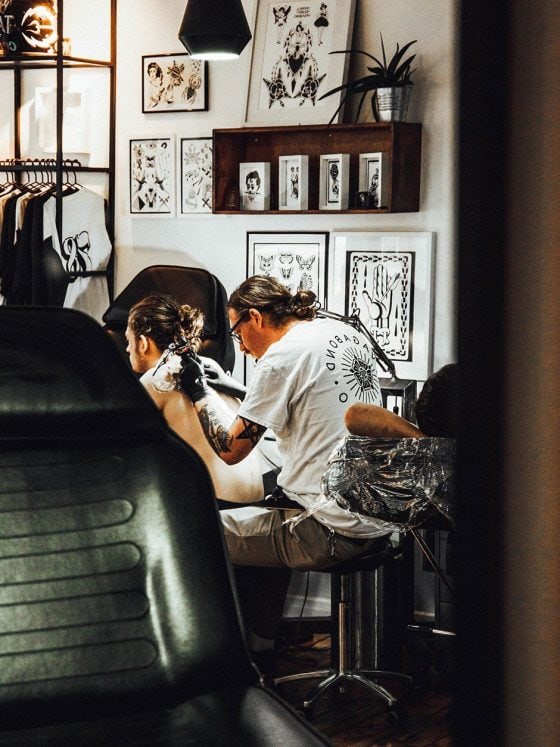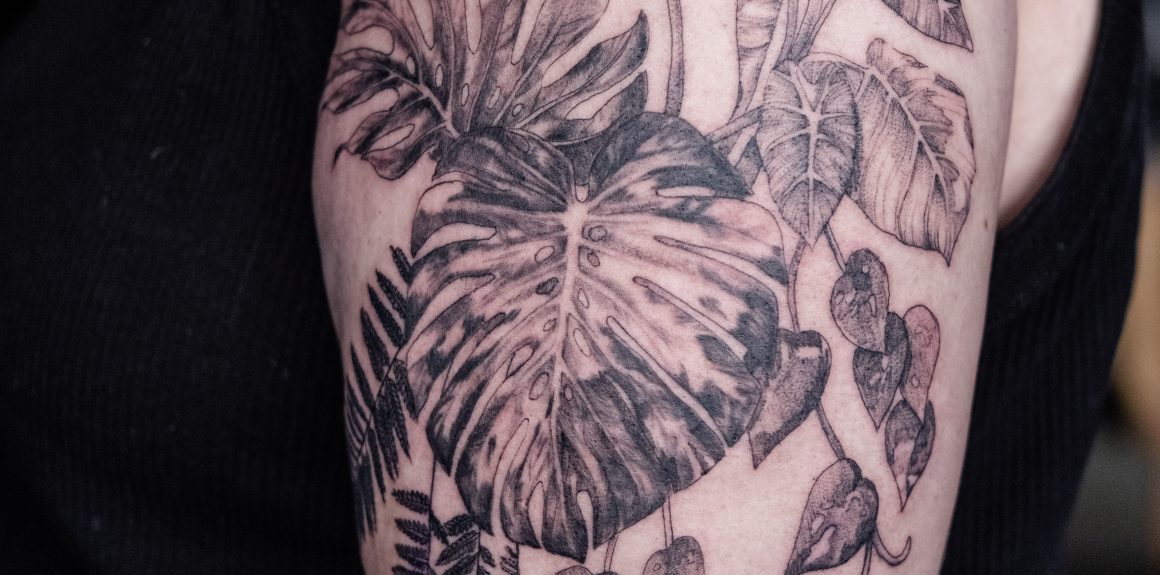
Photographing tattoos is not as easy as one may think! Tattoo artists have and are still struggling to get that perfect shot of their masterpiece they have just spent hours working on. Getting a good photograph of your tattoos is very important. Tattoo artists use these photographs to market their portfolio on platforms such as Instagram, Facebook, websites etc.
Tattoo artists run into many problems such as glare on the tattoo and redness of the skin after the tattoo. In this article I will try and give you some tips and tricks to help you get a better photo of your tattoo.
Camera
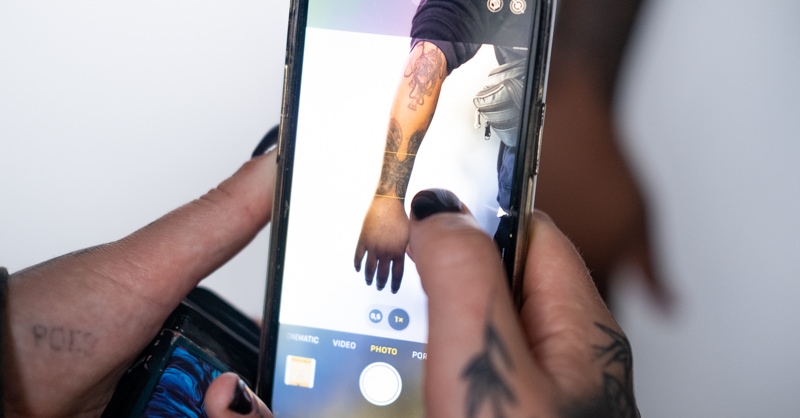
It is not entirely necessary to go out and buy a fancy camera to take photos of your tattoos, although it can help. You can very easily get great photos of your tattoos using your iPhone. If you use your iPhone, make sure your lighting is bright enough and you have a good background.
A simple and clean background is key to keeping the focus on your tattoo, as you do not want too many distracting elements taking the attention away from your work.
To help get that background blur or “bokeh” here are a few things you can do. Zoom in, take a step back, and make use of that 2x or 3x zoom.
This helps compress your background reducing background clutter. Exposure. Tap on your screen to get the focus, then drag your finger down to reduce the exposure. I often find that phones naturally overexpose photos of tattoos and can make the image look a bit garish.
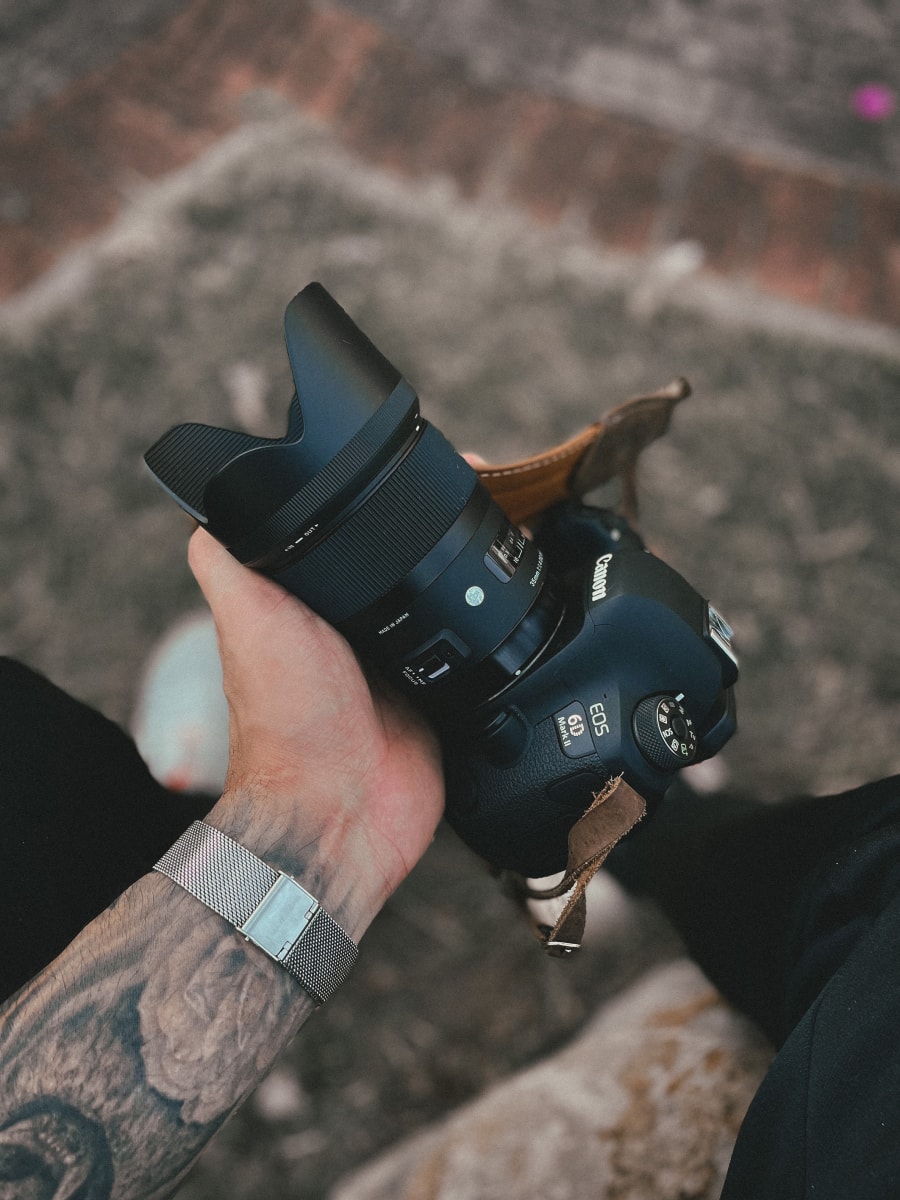
If you are in the market to buy a new camera system, I would recommend something small and powerful.
Companies such as Fujifilm and Sony make fantastic mirrorless cameras that are easy to use and maneuver around.
I have found that the ideal focal length for photographing tattoos is between 35mm and 50mm. If you are planning to buy a lens along with your camera and are on a budget, then keep an eye out for prime lenses.
Prime lenses have a fixed focal length (cannot zoom in or out). Make sure the lens has a low aperture, f2 is fantastic at getting a smooth background blur. You will also find that prime lenses are very sharp compared to standard zoom lenses.
Lighting
Lighting can be quite tricky as studios don’t always have the best natural light.
If your studio is blessed with natural light, then use it! Position your client as close as possible to your window or light source. If you don’t have lots of natural light, I would suggest using photography lighting to supplement the lighting.
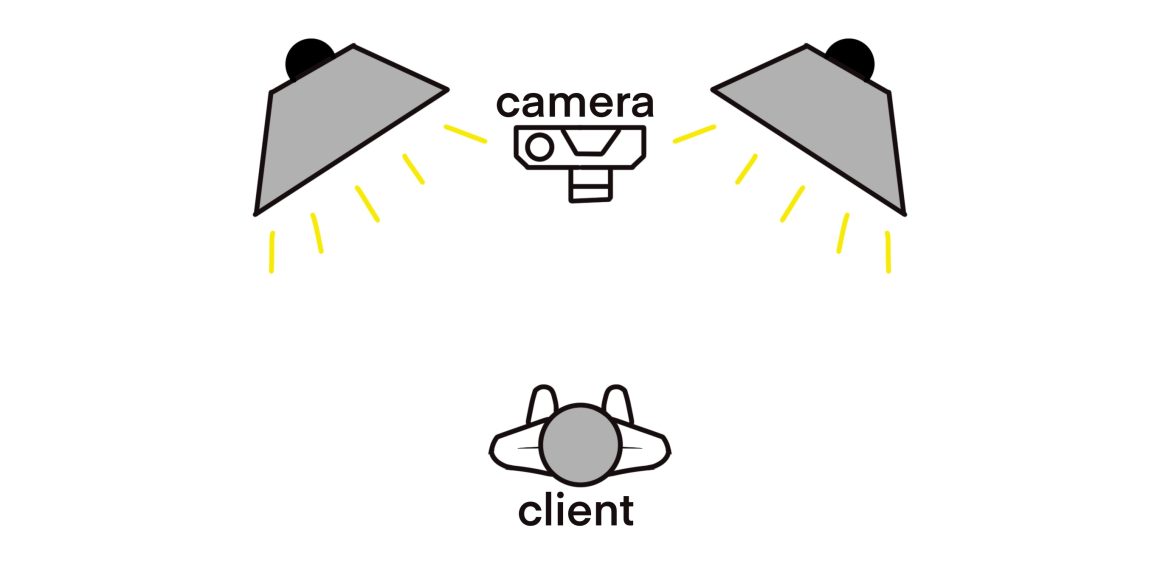
Get your hands on at least two soft boxes with a continuous lighting source, such as the Godox SL60W. Soft boxes soften the light source and help reduce glare on the tattoo.
You can use camera flashes, but I prefer to see what my lighting will look like before taking the picture, saving a lot of time as you don’t have to adjust your lighting continuously.
Place your softboxes in front of your client, one light should be just to the left of your client and one just to the right.
As for vertical placement, these lights should be positioned slightly higher than head height, this helps to reduce light reflection and glare.

One piece of equipment I found exceptionally helpful is a polarising filter. These do a good job of cutting out glare on the tattoo. It seems to do a better job of cutting out natural light when compared to artificial light.
If you are buying a polarising filter for your camera lens make sure you buy the correct diameter that matches your lens. You can also buy a kit for your phone that attaches over your camera lens so you can mount filters.
Positioning the client
Positioning the client is simple. Make sure there is enough space between you and your client so that you can take a wide photograph if needed.
You can then also move closer to your client to get a tighter shot of the tattoo. Make sure your client faces the surface that they got tattooed directly at the camera. This helps to evenly light the surface without having parts of the tattoo under exposed.
A little trick I found to help reduce glare on the tattoo is to tilt the surface of the skin that has been tattooed slightly down. This helps reduce direct reflection from the light source reflecting off the skin into your camera.
Editing
If you are shooting on a camera, it may be a good idea to shoot in a file format called RAW. This creates bigger files, but when it comes to editing, you have more leeway when adjusting the light values.
I would recommend finding an editing program to edit your photos, such as Adobe Photoshop Lightroom. Lightroom has a very good filing system for your photos, and you can easily copy and paste edits.
It is important to remember that the edits you have made to your photos may not look the same on yours and others’ cell phones. So make sure to check your edit on your phone before posting! iPhone does have a very good integrated editing software, so if you do not have a computer to edit on or prefer editing on your phone, do not be afraid to edit your photos straight from your gallery.
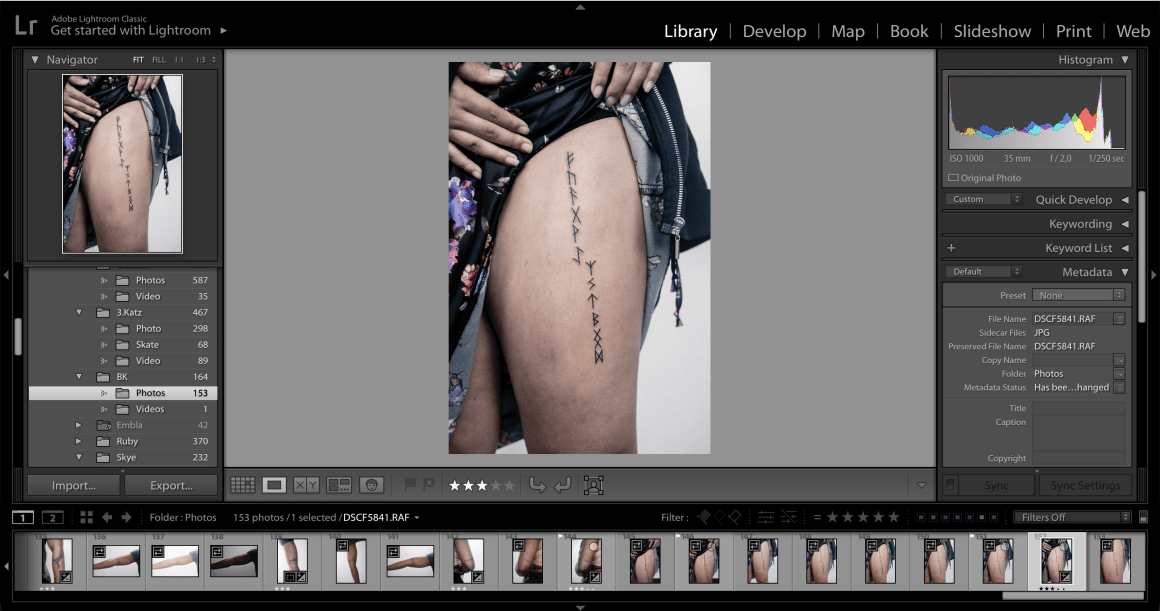
Many artists are criticized for over-editing their tattoo photos. As a good rule of thumb, I like to edit my photos to look how they are in person.
Initially, photos of your tattoos can look quite different from how they are in person. This can be caused by many things, such as incorrect color balancing, which is usually an automatic edit made by the camera.
Once you have edited your photo so the tattoo looks as close as possible to the tattoo in person, add a little pop by turning the contrast up. Remember, these photos must look good because they are how you market yourself.
Redness and swelling of the skin
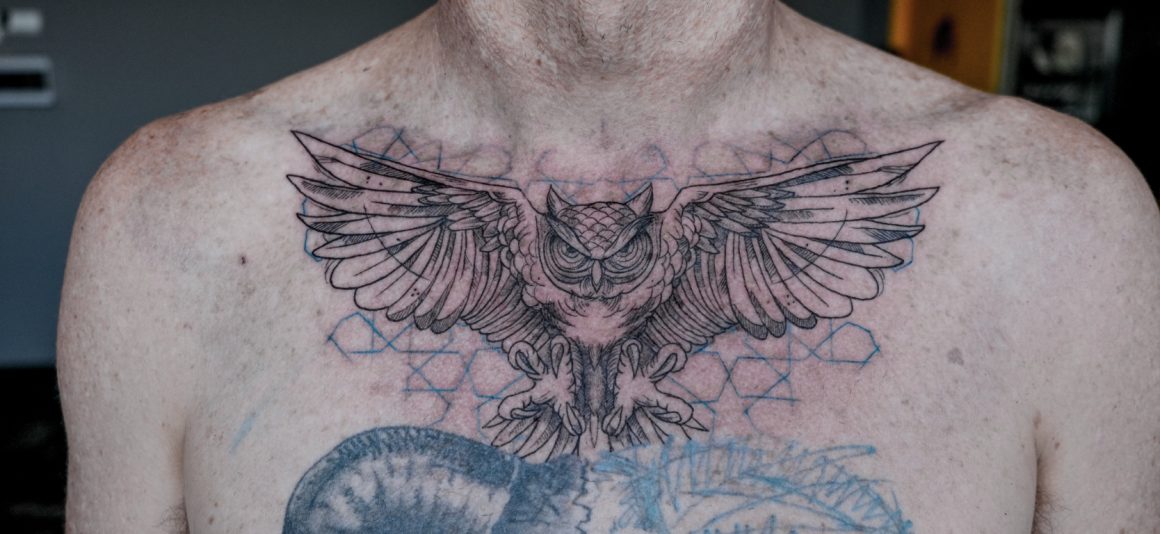
This can be very tricky to rectify. Your client’s skin will most definitely be swollen and red straight after the tattoo process. The tried and true method to fixing this problem is waiting 30 minutes to an hour after completing the tattoo to wait for the swelling and redness to calm down.
However, not everyone has time to wait that long after the tattoo session. Other ways to address this issue are to use products such as Bactine during and after the session to help calm and cool the skin.
Just make sure that the tattoo has stopped bleeding before taking a picture. Blood on the surface of the skin can create unwanted glare and is unsightly! If you want to learn more, check out our article on the Tattoo Healing process.
Summary
Taking good photographs of your work is one of the most important parts of being a tattoo artist. We need to showcase our work to the public to gain more clients and keep track of our progress!
I hope this guide has helped you take the best photographs of your work.
