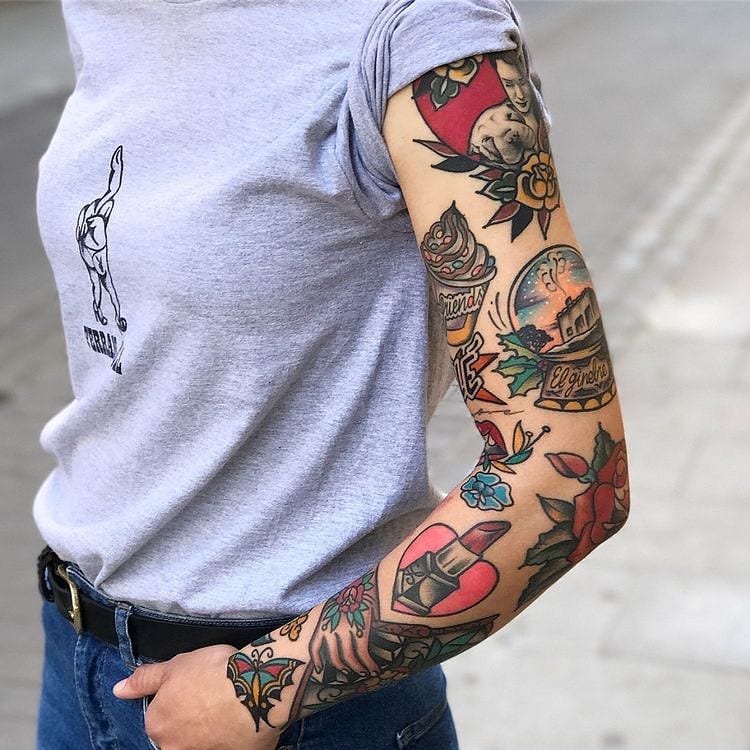
At our studio Be Kind Tattooing, we always say “Now I’ve done 80% of the job, the rest is up to you”, and this is because tattoo aftercare is also an important part of the process of getting, and keeping a beautiful tattoo.
There are so many different products on the market that it may be difficult to choose the right one or to know if they will work for the type of tattoo you have gotten. The best bet is to follow whichever aftercare method your artist tells you to – they have years of experience and know what method works best for their style of tattooing!
But in case you’re looking for something different or your artist forgot to tell you, here’s my list of different aftercare methods, products, do’s, and don’ts.
Saniderm
Saniderm is a fairly new way of healing a tattoo but is definitely one of the most requested, with people posting TikToks showing them peeling the Saniderm off their tattoo being extremely popular. But what is Saniderm?
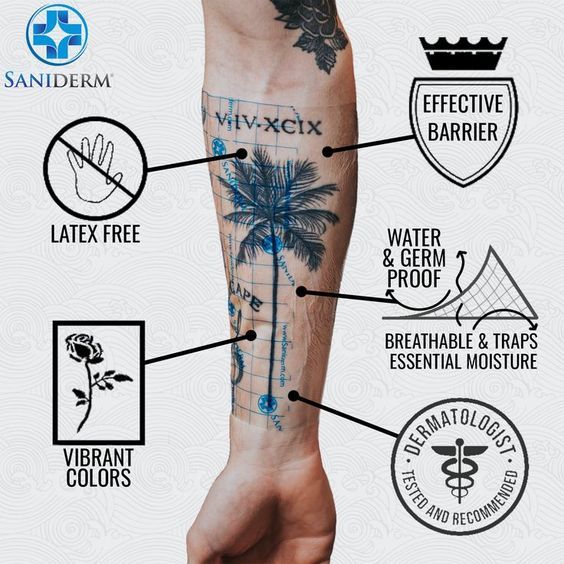
Simply put, Saniderm is a medical-grade adhesive bandage. It is waterproof, breathable, flexible, and drastically reduces the chance of infection. It prevents friction, contamination, and because you do not need to wash and moisturise your tattoo during the healing process, it makes for a smoother overall healing process. Sounds like a dream product, right?
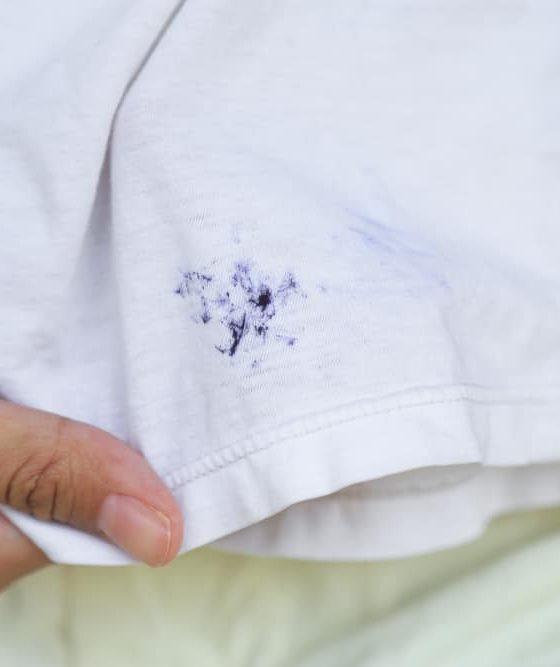
However, there are some drawbacks. Some people can be allergic to the adhesive and this can have extremely negative effects on how the tattoo heals. We recommend doing a test patch if you have a history of plaster allergies. It can be quite expensive and some studios will charge you for your extra piece of Saniderm. If your tattoo is in a hard to reach place, you will need help applying the second piece. It can leak all over your bedding (and trust me, its so difficult to get that goo out of fabric!)
How to use Saniderm
Step 1: Skin prep
Make sure that the skin has been shaved around the tattoo to avoid unpleasant hair-pulling when removing the Saniderm. The tattoo and the area around it need to be free of all residue, so we recommend cleaning with an alcohol-free cleanser and patting dry.
Step 2: Apply the first bandage
Cut and trim the Saniderm to fit the tattoo, while leaving a 3cm border around it – this ensures for extra protection from water getting into the tattoo and stops it from peeling past the tattoo.
Next, peel off the white paper and gently stick it over the tattoo. Then remove the see-through layer and smooth out any air bubbles.
You want to keep this bandage on for 3-24 hours, depending on how much the tattoo is weeping.
Step 3: Removal and Reapplication
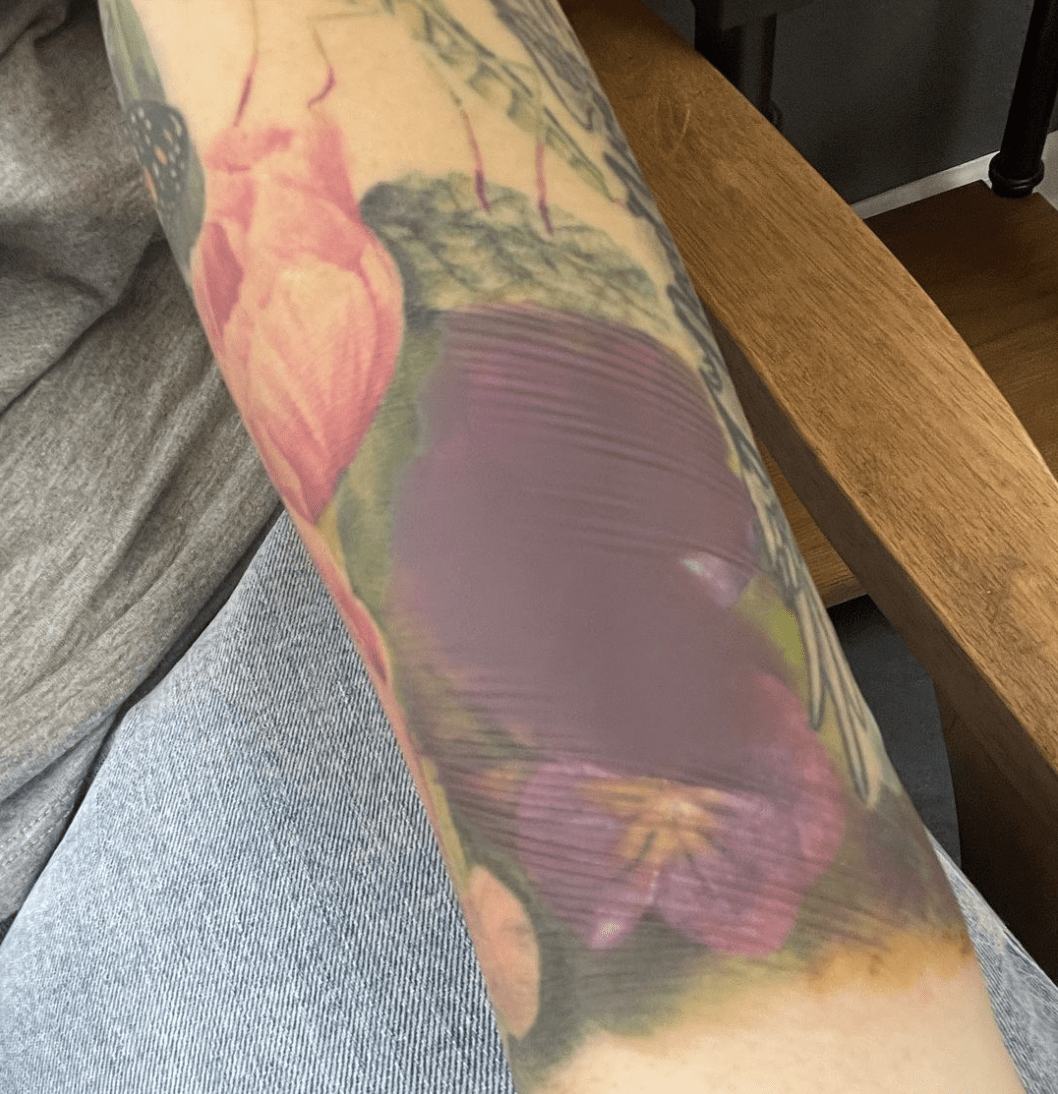
We recommend removing the Saniderm in the shower as the water helps loosen the adhesive. Peel it back in the direction of your hair growth and slowly loosen it. Wash the area with a fragrance-free soap, and pat it dry with a clean paper towel. Personally, I do not recommend applying any lotion to the area after this step but some people do choose to. Next, apply your second bandage in the same way as before. This bandage can be kept on for a further 3-6 days, with the full 6 days being the ideal length of time.
Step 4: Keep Looking After It
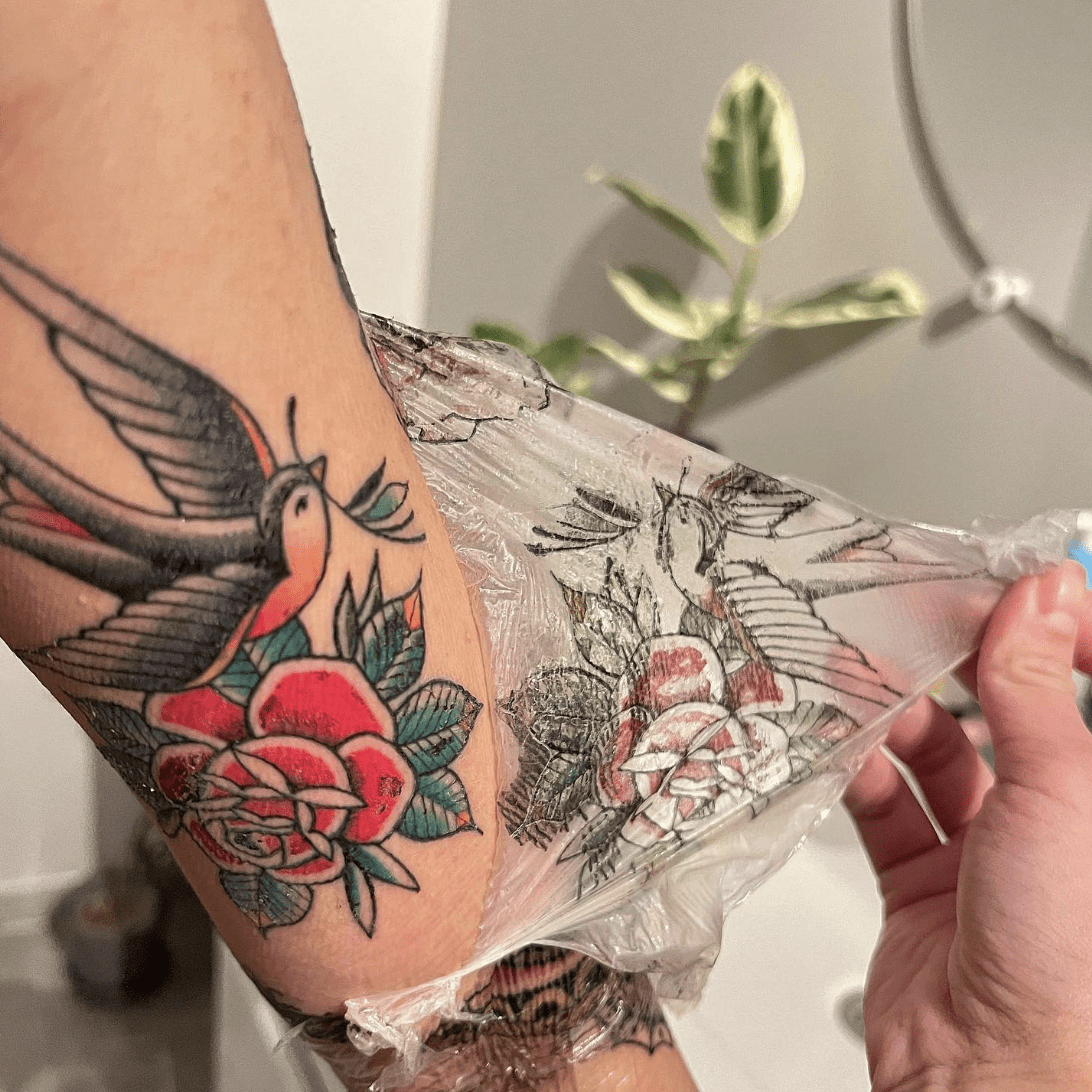
Just because you’ve removed the second Saniderm bandage doesn’t mean the aftercare job is over just yet! Once the final bandage has been removed, give your tattoo a good wash and let it air dry. Apply a thin layer of aftercare cream or unscented moisturizer 2-3 times per day until the tattoo is no longer dry or peeling. A tattoo is considered FULLY HEALED after 2-4 months so I highly recommend taking great care of it over this period.
Tips and tricks:
It is important not to apply another bandage after the scabbing phase of your tattoo. If there is any adhesive left on your skin, coconut oil can help with removing it. Avoid scrubbing your new tattoo.
Saniderm alternatives:
Standard Healing
Standard healing is the aftercare method that is used the most in our industry.
You will often find that studios stock aftercare packs in-store which you can use your this process.
I make a pure olive oil soap and a gentle balm which goes into a pack with instructions and some free stickers which my clients love!
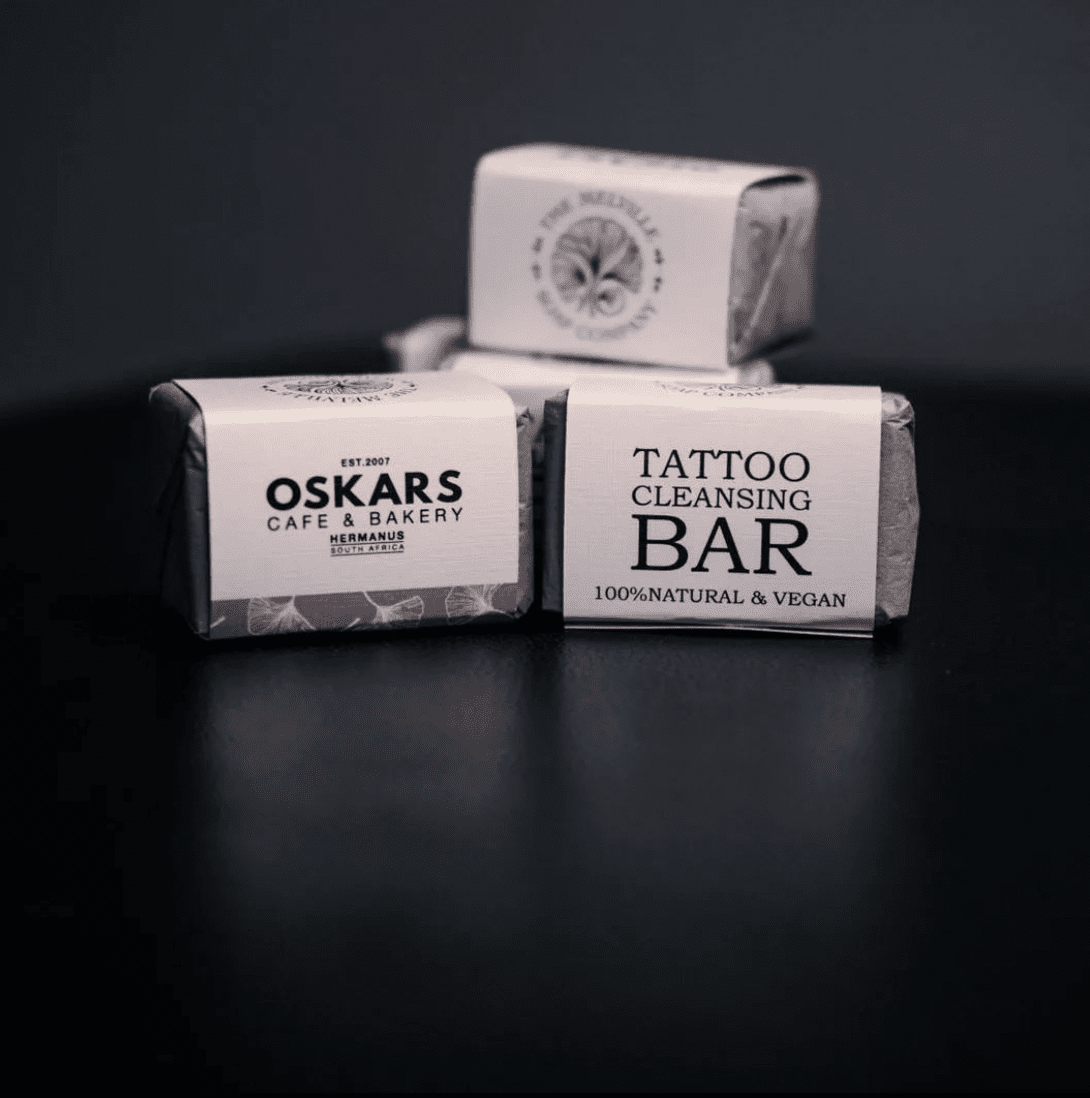
So how does standard healing work?
Step 1: Remove the bandage
Once your tattoo is finished your artist will wrap you up. You will then leave this on for 3 hours (or overnight if recommended). When you remove it, clean your tattoo with scent-free soap and warm water making sure that all of the build-up has been removed, and let it air dry for 15 minutes.
Step 2: Apply ointment
You will then apply a very thin layer of ointment which we will talk about below. massage it into the skin and make sure that it is not smothered as this can lead to infection. You want the tattoo to be slightly shiny so if there is too much on there you can pat it off with a dry paper towel.
Step 3: Repeat the process
Personally, I recommend washing your tattoo at least twice a day and repeating the process above. Avoid direct sun exposure and dirty environments while your tattoo is healing.
Try to wear loose fitting clothing and most importantly do not submerge your tattoo in water!
Short showers during the healing process are okay. Avoid picking at any scabs that may form as this can lead to infection and scarring.
Recommended ointments:
Wet Healing
Wet healing refers to keeping a tattoo moist throughout the entire healing process.
Personally, I have used this method in the past on high-movement areas like knees, elbows, and hands. It helps with comfort as these areas can tend to crack quite badly if you choose to use standard or wet healing methods.
But only with clients who are already heavily tattooed as the risk of infection is very high!
Wet healing requires much more attention, as your wrap should not stay on longer than 4 hours at a time.
So if you work in a space where wearing and re-wrapping your tattoo is not possible, this method may need to be avoided.
The pros of wet healing are that it is faster and less painful than other methods. However, if it is done incorrectly, it can lead to quite serious infections and takes a lot more time out of your day to do it properly.
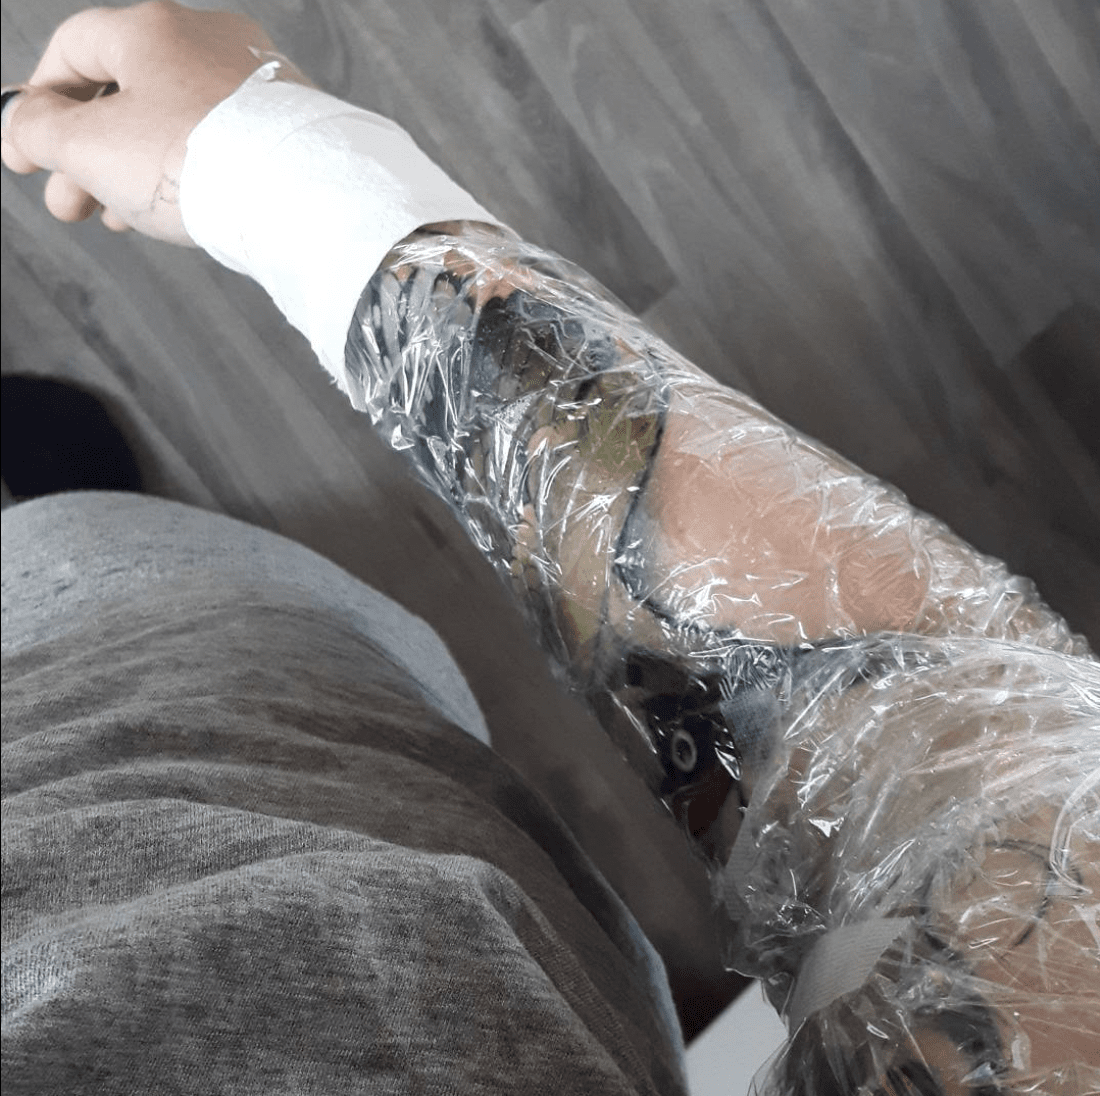
How to wet heal
Step 1: Initial wrap removal and re-application
3 hours after you get home from your tattoo appointment, remove your initial bandage and clean the area with warm water and fragrance-free soap. Pat it down with a clean paper towel or let it air dry for 15 minutes. Cover the tattoo with a new piece of cling wrap and tape it well. Do not apply any ointments. This wrap is then left on over-night.
Step 2: The next 3 days
Wash and wrap your tattoo every 3-4 hours with the same method as above, especially after any period of sweating.
Try to avoid over-wrapping the tattoo and covering skin that isn’t tattooed as this can lead to excess sweating. I find the best indicator for a change is when your tattoo starts to sting.
Step 3: Remove the wrapping
The tattoo has now done most of its healing. You can remove your final wrap, clean the area and let it dry completely. When your tattoo begins to peel it will flake off sort of like when you get sunburnt and may become itchy.
You can apply a thin layer of scent-free aqueous cream when needed from here. Do not scratch your tattoo, rather try patting it to avoid any scabs coming off prematurely.
This method is well-loved by a lot of artists for high-movement areas and larger-scale tattoos.
If you find that you are developing small pimples around the tattoo, this is usually due to it being over-wrapped and you will need to let it dry out and only apply lotion once it has stopped being irritated.
Dry Healing
Dry healing is one of the more controversial healing methods. Dry healing tattoos mean you don’t use any lotions, balms, or moisturizers to help heal your tattoos.
Dry healing works well for some clients but not for everyone due to the risks associated with it.
So how do you know if it’s the right one for you?
If you’re one of those who tends to have extremely sensitive skin and are allergic to just about everything, dry healing might be your only option.
Regardless of which option you choose to use to heal your tattoo, they will still carry risks.
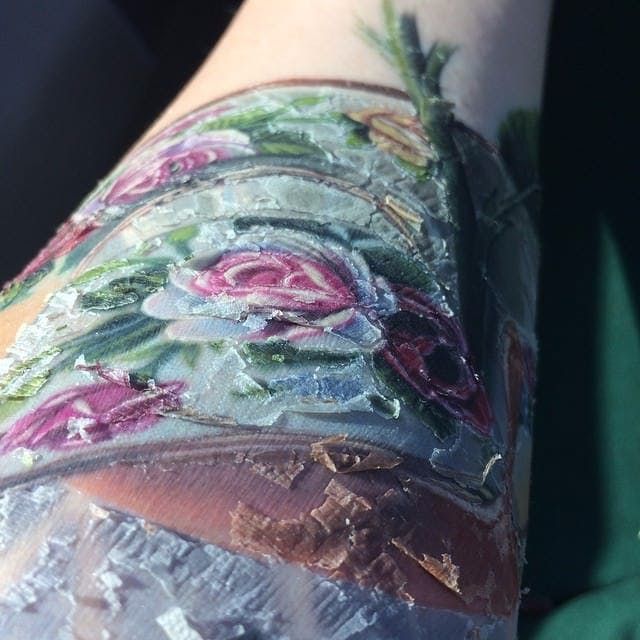
Dry healing cons
- The skin becomes extremely dry, which can cause it to crack, making it extremely uncomfortable.
- Scabbing and itching become a lot worse as you aren’t able to moisturize it
- Scratching or damaging your tattoo while dry healing can cause scarring
- You still have to clean your tattoo and make sure it drys hygienically
How should you dry heal your tattoos?
Step 1: Avoid all moisturisers, lotions, balms and creams
Step 2: Keep it clean by washing it 3 times a day with anti-bacterial soap and warm water. Air dry after cleaning it.
Step 3: Make sure you stay hydrated during the whole healing process
Step 4: Avoid touching your tattoo as it can cause infection
Step 5: Wear breathable clothing to prevent dirt and bacteria from entering the open tattoo
And that’s about it for dry healing!
As I said before, this method poses many risks, and even though it may seem much simpler than the other methods, it can be uncomfortable and difficult for your tattoo healing.
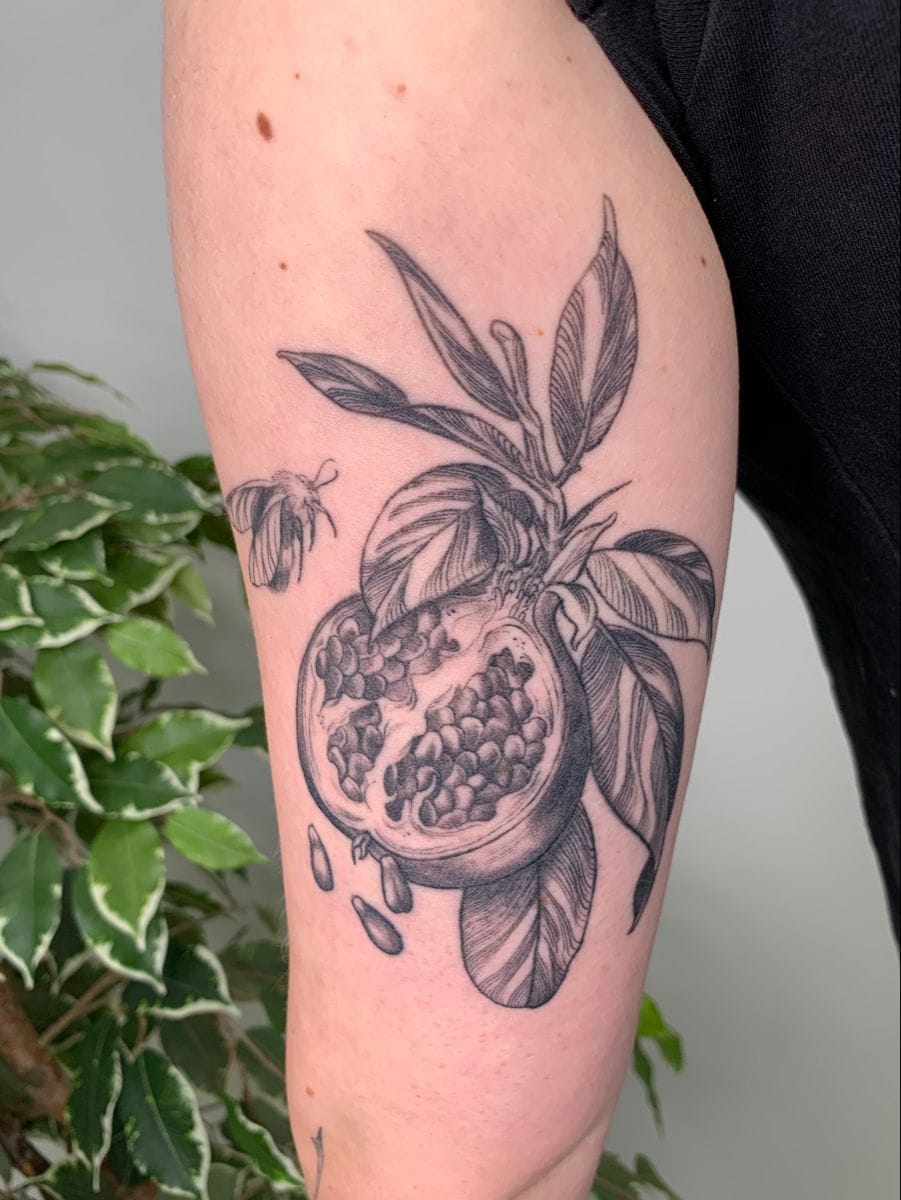
When can you shave over a tattoo?
It’s generally recommended to wait at least 2-4 weeks before shaving the area around a new tattoo. This allows the tattooed skin to heal properly without irritation or risk of infection from shaving.
Make sure the tattoo is fully healed, the skin is no longer scabbing or peeling, and there’s no redness or swelling before you shave. When you do shave, use a clean, sharp razor and be gentle to avoid damaging the tattoo.
The bottom line
Tattoo aftercare differs from person to person.
No matter which method you choose, always ensure that your tattoo is clean and that you are using products with no fragrances or colorants. Remember, your artist usually knows best about healing tattoos done in their style, but I hope this list has helped you if you are unsure or are looking to try something new!
