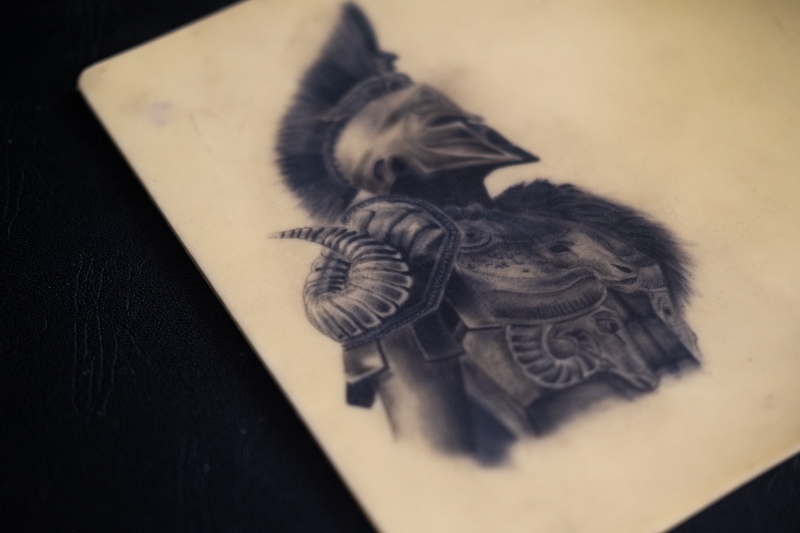
Tattooing fake skin is the first step to feeling like you’re actually getting somewhere with your tattoo apprenticeship.
We generally use fake skin to get you used to your machine’s weight, the needle’s vibration, and depth control. But tattooing fake skin comes with its challenges – getting the stencil to stick, and it is difficult to clean! Your depth also changes compared to tattooing real skin, but it’s good for learning how to match your hand speed with your machine.
We have put together this guide to help you tattoo fake skin with ease! Collectively, we have around 16 years of tattooing experience and have all struggled our way through tattooing fake skin.
Make sure to check out our best fake tattoo skin recommendations if you’re looking for something to practice on.
Step 1: Sticking your stencil
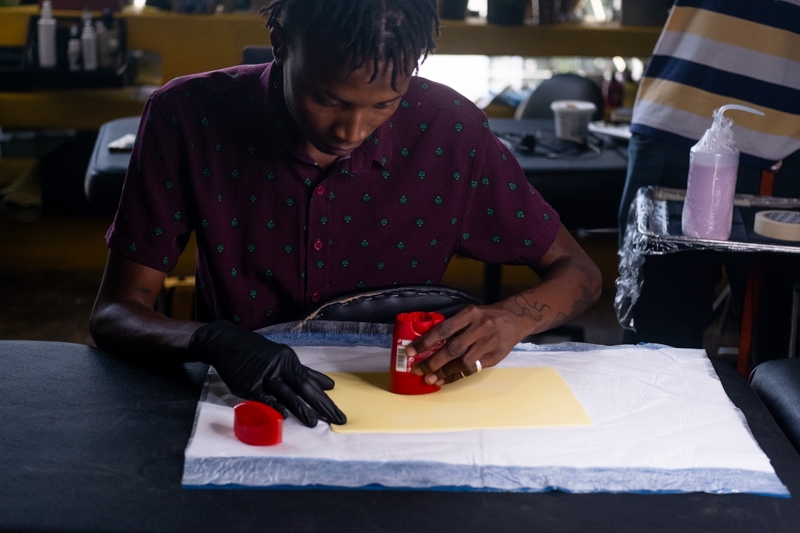
The product that has worked the best for us to tattoo fake skin is Original Old Spice weirdly enough! My first tattoo apprenticeship was with an older tattoo artist who swore by Speed Stick for tattoo stencil application. The industry now has all sorts of different products you can use, but for tattooing fake skin, Old Spice is the best.
Check out our list of some of the best Tattoo Stencil Products.
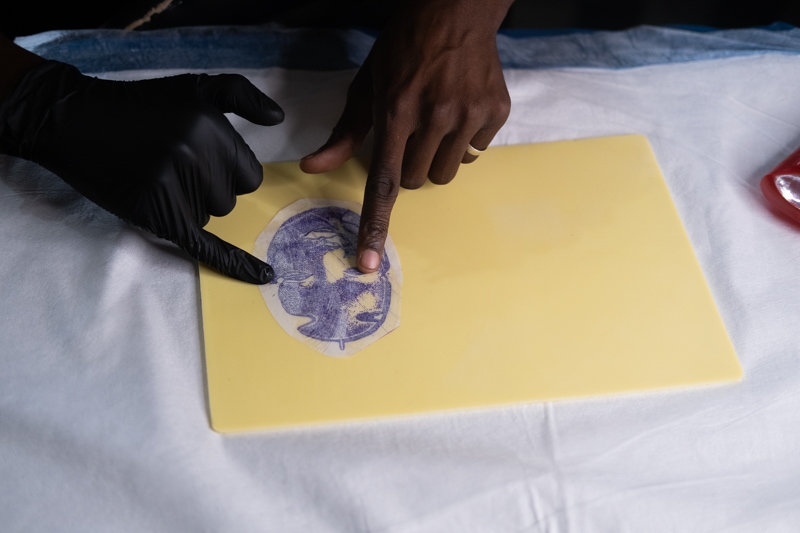
Apply a thin layer of Old Spice to the area of the fake skin where you’re going to be sticking your stencil. Place the stencil down gently where you will tattoo fake skin- the entire piece of paper will look wet. This is completely normal. For extra longevity, place a heavy book on top of the stencil and leave it on for 24 hours. The stencil slips more easily on the fake skin than on real skin.
Step 2: Check that it’s dry
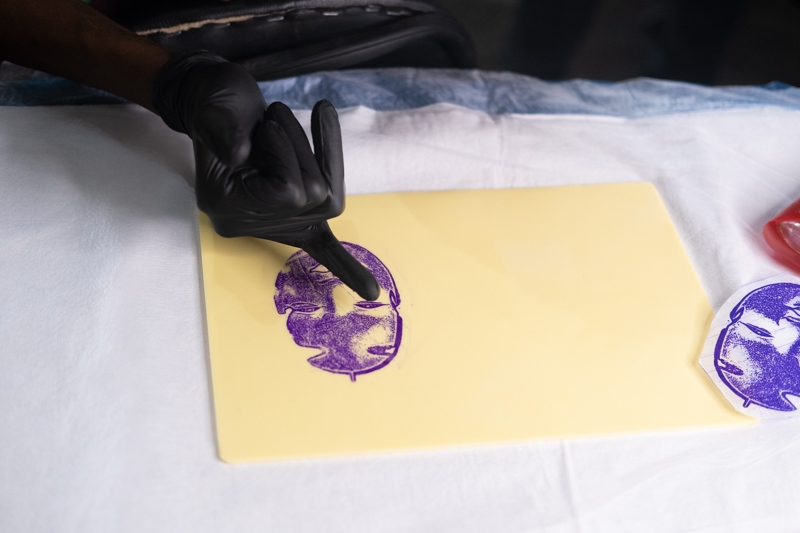
After 24 hours, remove the stencil and check that it has dried. If it hasn’t, leave it to air for a further 20 minutes.
While you are waiting, you can set up your station for tattooing. Even though no blood will be involved, you still need to set up your tattoo station properly. This avoids a mess happening and gets you in the groove to tattoo human skin in the future! You also want to wrap your machine, as the ink will get all over it if you don’t.
Step 3: Start tattooing
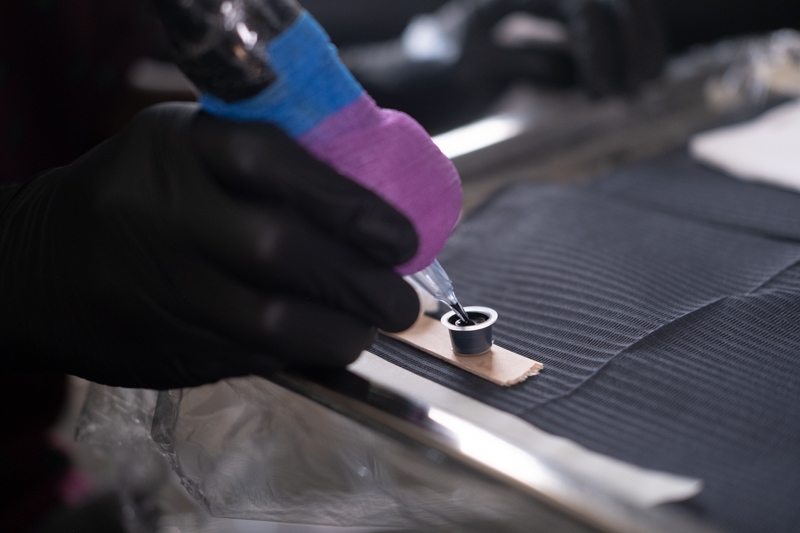
Now you should be all set to start tattooing!
We find that you may need to go slightly deeper to tattoo fake skin than you would for normal tattooing.
Try to wipe away from the stencil while you’re working to avoid losing your stencil. I also recommend using a lot of Vaseline as it helps with wiping. Start from the bottom and work your way up the tattoo.
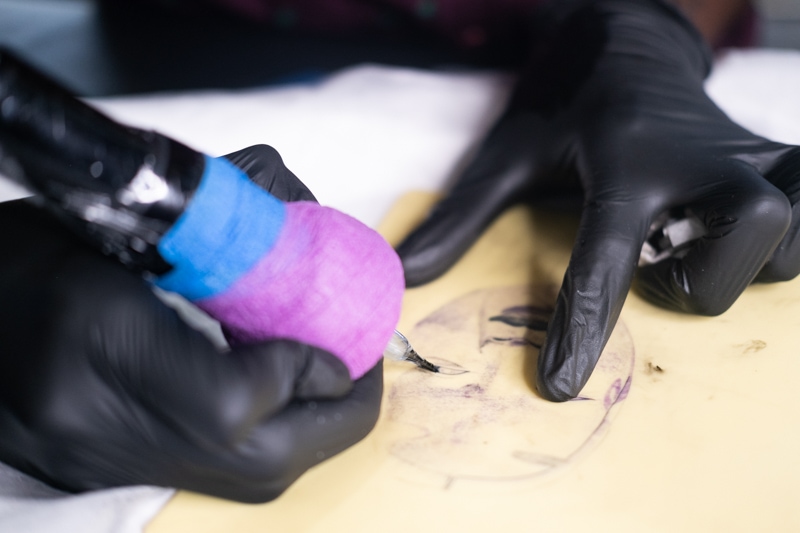
Try stretching the skin just as you would when tattooing normal skin as this helps train your hand to stretch in the future.
Start with the line work and get it all done before you move on to shading. It also helps to wrap the fake skin onto a bottle, your leg, or a paper towel roll to imitate the curves of the body. This also helps to elevate the fake skin making it easier to tattoo.
Step 4: Clean the fake skin
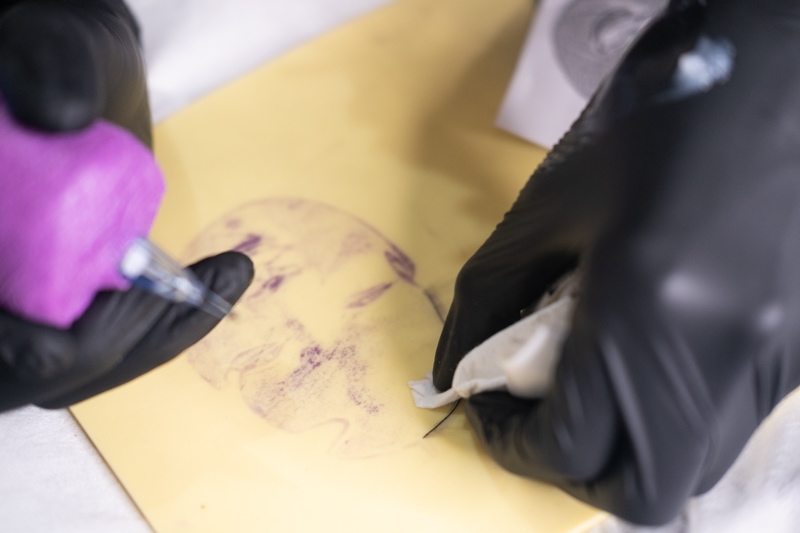
This is one of the trickiest things to get right – we have tried rubbing alcohol, a soapy wash, and all the other cleaning chemicals you can think of! But the thing that works the best is lots of Vaseline and a dry paper towel.
Apply a thick layer all over the tattoo, rub it around, and wipe it off with a dry paper towel. This process may need to be repeated a few times before it is completely clean.
Step 5: Display your work or use the skin again!
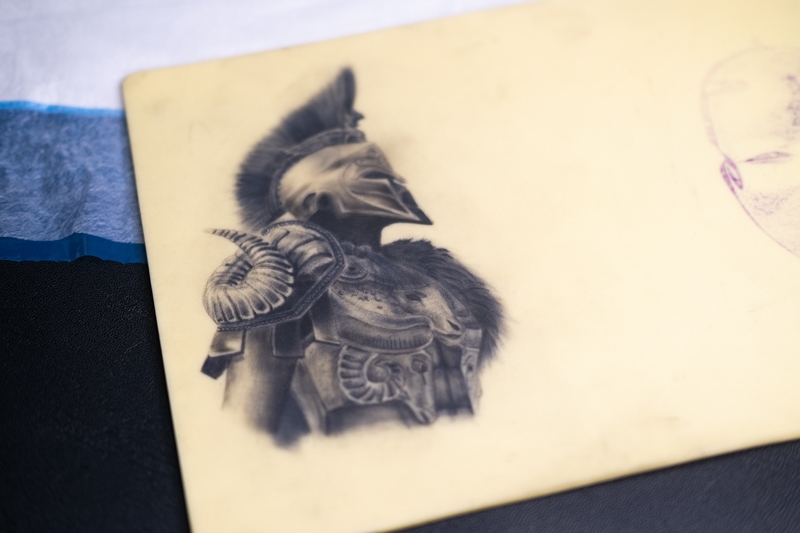
Fake skin can be turned around and used again. I have also seen a lot of people display, and even sell their completed tattoos on fake skin. Remember that even though you may have done a lot of tattoos on fake skin, this does not necessarily mean you are ready to move on to clients.
It takes a lot of practice and an understanding of cross-contamination before you can move on to the real thing!
I hope this guide will help you make the perfect tattoo on fake skin!
