Thermal transfer paper has changed the way we create stencils. Tattoo stenciling has evolved from felt pads and wood carvings to hectograph pencils and rice paper to cellulose stencils, and finally to where we are today with free-hand hectograph paper and thermal transfer paper.
Thermal tattoo stencils are fairly new in my country of South Africa, and there are still studios that choose only to use free-hand hectograph paper to do their stencils.
Thermal copiers have made making stencils a breeze, as we don’t have the spend hours tracing our designs over hectograph paper, and if clients want to make their tattoos bigger or smaller, it’s quick and easy! Just print them a new one.
But how does a thermal copier work? I have compiled a step-by-step guide to get the perfect stencil every time.
Table of Contents
- Step by Step Stencil Printing Guide
- Step by Step Stencil Application Guide
- Step 1: Clean skin with green soap or similar and shave the area
- Step 2: Clean the skin area with alcohol
- Step 3: Apply stencil stuff to the area
- Step 4: Allow to become a tacky consistency
- Step 5: Apply Stencil
- Step 6: Leave stencil on for 20 seconds
- Step 7: Remove stencil and gently pat dry with paper towel
- Step 8: Let it dry for 10 minutes
- Step 9: Get ready to tattoo!
- Summary
Step by Step Stencil Printing Guide
Step 1: Print your design
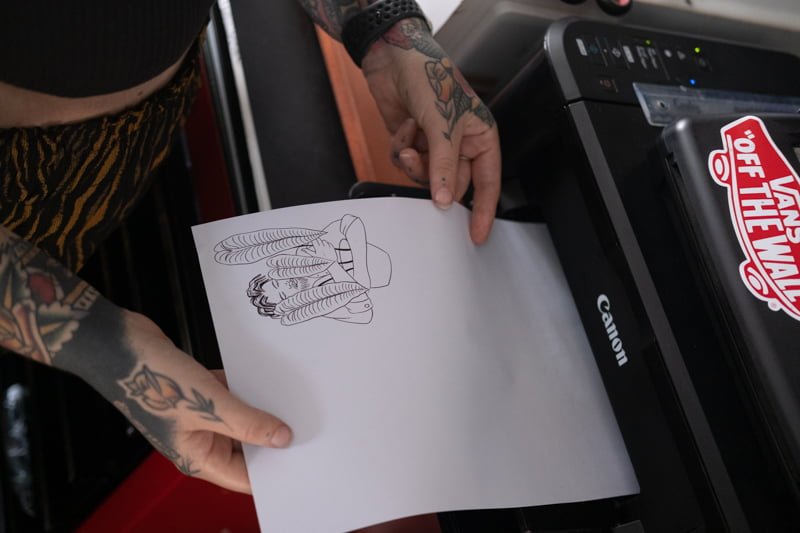
When you create your design, the most important part is ensuring that your line weight is thick enough to pick up on the thermal transfer paper.
Remember, thermal copiers do not use hand-drawn designs but rather digital designs.
My rule of thumb is not thinner than a 0.5 fine liner tip. If your lines are too thin, they will not print properly on thermal transfer paper.
Also, think about where your design is placed on your A4 paper (standard letter size in US sizing) so that you can save on your thermal transfer paper and reuse it going forward.
We usually print on the bottom left-hand side of an A4.
Step 2: Prepare the paper and insert into the printer
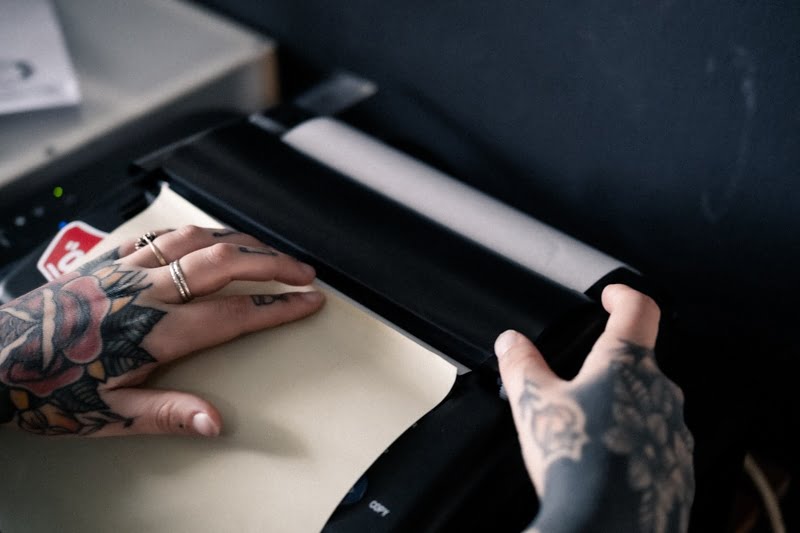
Pull out a thermal transfer paper from your box.
It will contain a yellow sheet, a white sheet, a brown sheet, and a carbon sheet all connected together. Open the lid of the tattoo thermal copier.
Remove the brown sheet from between the carbon and white sheet.
Grab just the yellow sheet from the remaining 2 sheets in the thermal transfer paper packet. Then, feed it through the opening in the bottom of the thermal copier’s lid from the back of the machine forward until it’s lying over top of the copier.
Make sure the purple carbon faces down with the white sheet on top.
Pull the yellow sheet through the rest of the way until the crease of the paper (where it attaches to the carbon sheet) lines up with the edge of the lid as you close it. Push the lid down until you hear a click, and then fold back the yellow sheet so that it lays over top of the thermal copier lid.
Step 4: Insert the printed image
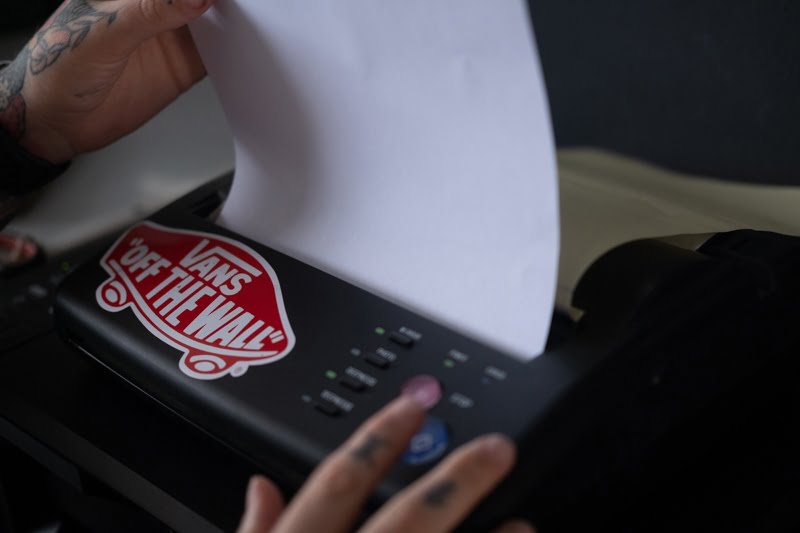
Take the printout of your design, and feed it face-down into the slot in front of the printed lid until you hear a click and feel a pull.
This means that the printed image is loaded and ready to print.
Step 5: Press “copy” and guide the stencil paper
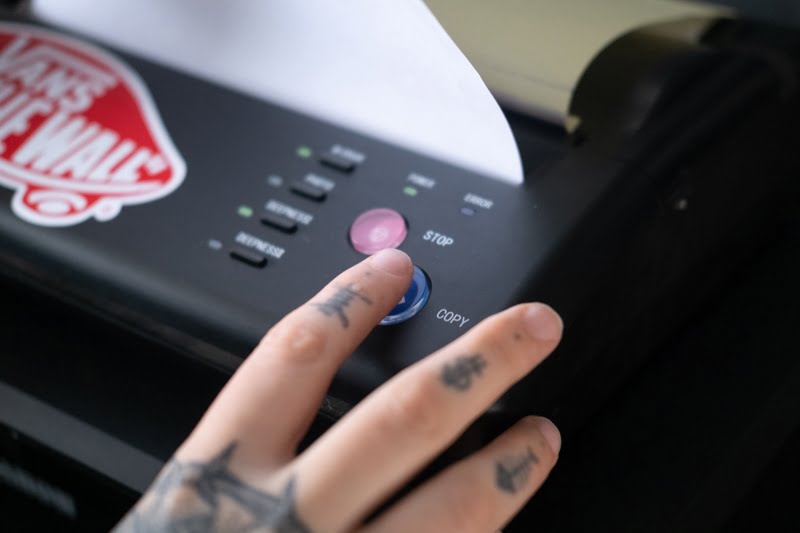
Press copy and guide the thermal transfer paper out of the machine. This prevents it from getting stuck while the two pieces of paper are feeding from different directions.
Step 6: Cut out your stencil
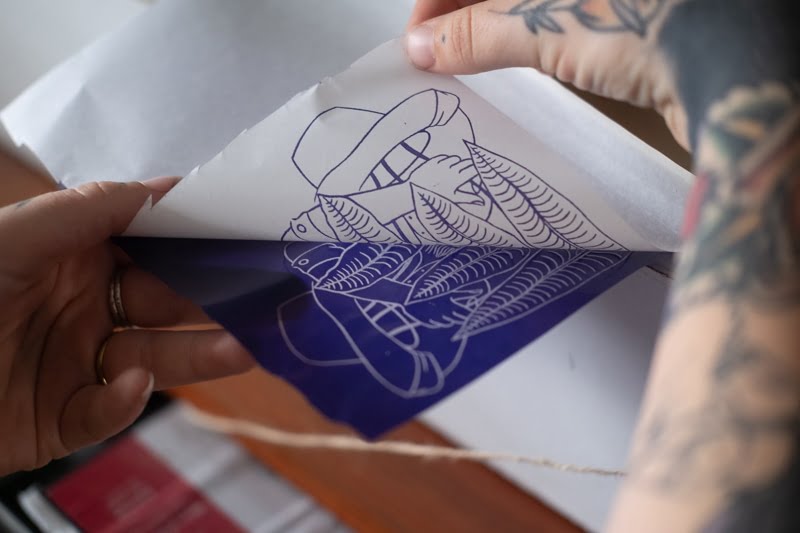
Cut out your stencil and peel off the carbon layer. You will now have a reverse copy of your design to stick onto your client! If you are unhappy with your stencil, print it again, as your tattoo will only be as good as your stencil.
Printer Tips and tricks
- Switching your printer off after you have used it stops it from overheating and “remembering” the previous stencil that was printed.
- Turn “Mirror” off if you need to flip your design – but remember this doesn’t work if your design has text in it.
- Use the “Deepness 2” option is your design is on the lighter side.
- Keep your scrap pieces of thermal transfer paper and use them later for smaller designs.
- Clean your thermal copier every few months to avoid problems.
Now let’s take a look at how to place the perfect stencil:
Step by Step Stencil Application Guide
Step 1: Clean skin with green soap or similar and shave the area
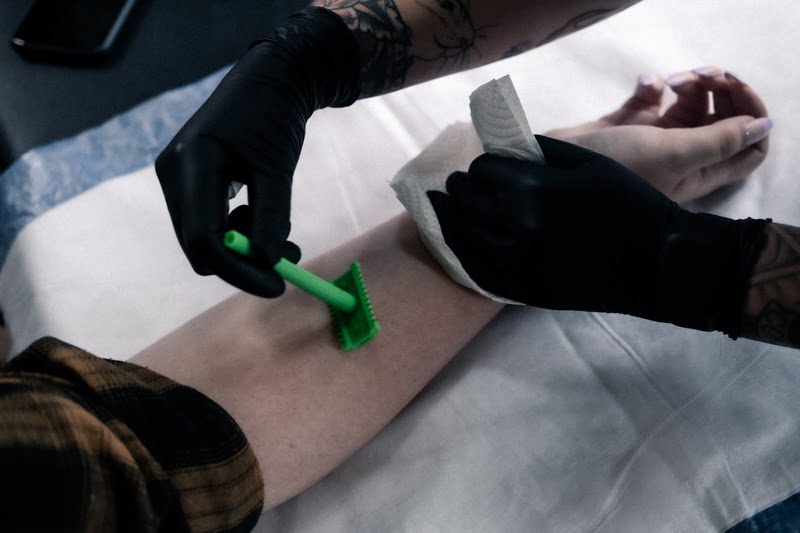
It’s important to have a surface that is free of hair to tattoo on.
The hair can interfere with the stencil and the entire tattooing process. Hair can also harbor germs which we don’t want to tattoo into your skin!
Step 2: Clean the skin area with alcohol
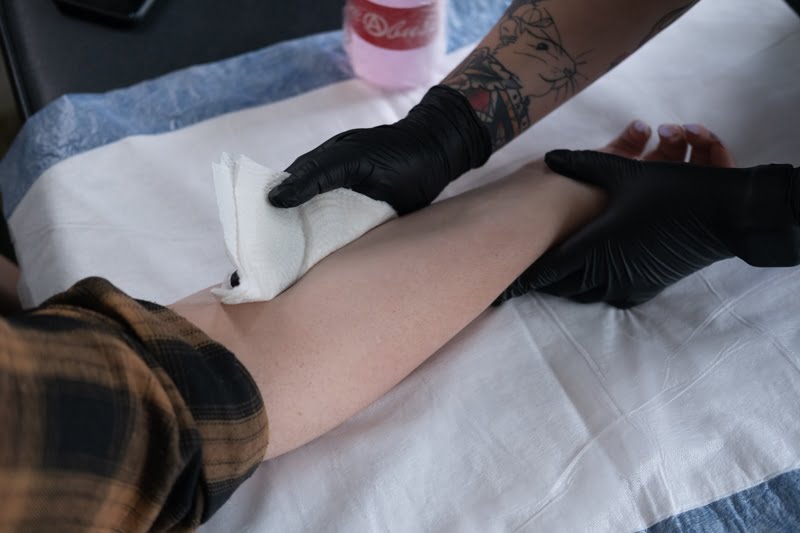
We clean the skin with alcohol to make sure all body lotion, dust, and sweat are off the skin before we stick the stencil – this ensures that the stencil lasts as long as possible and that the area is disinfected before we start tattooing.
Step 3: Apply stencil stuff to the area
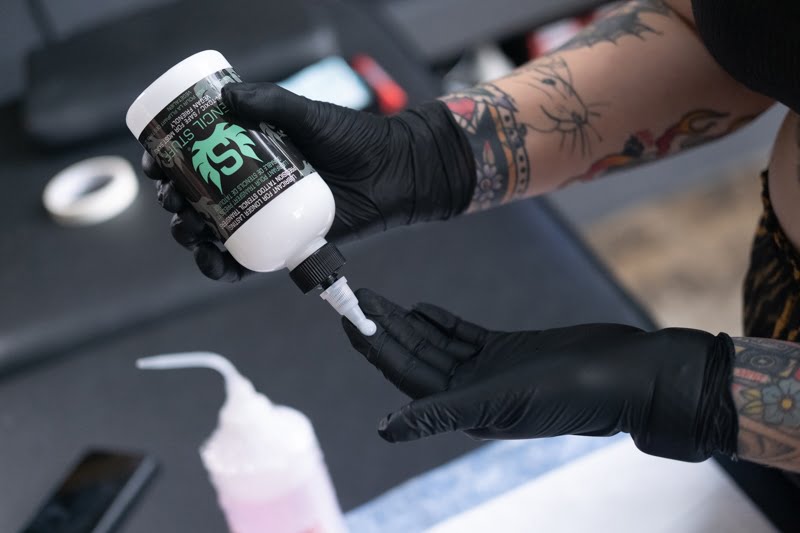
Apply your chosen stencil solution to the skin. Make sure that you don’t use too much or too little, and apply it evenly to the entire area that you are about to tattoo.
Take a look at our list of the Best Stencil Solutions if you’re curious about what we recommend.
Step 4: Allow to become a tacky consistency
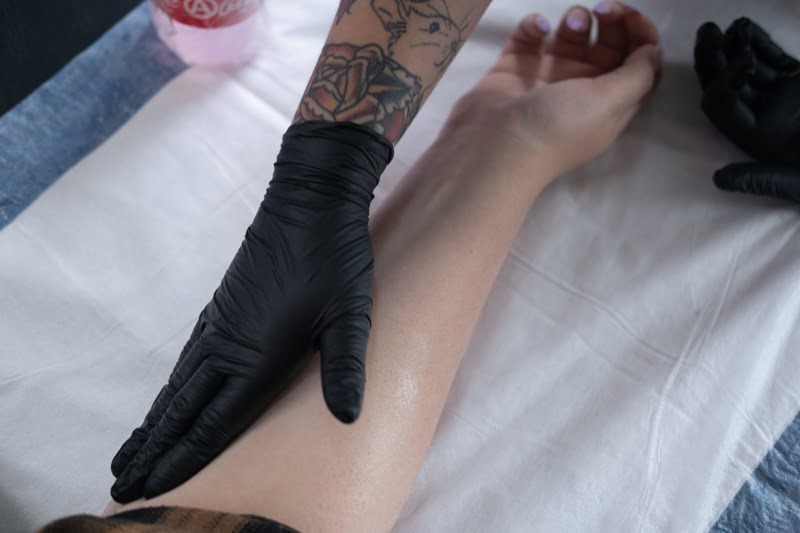
Rub the solution into the skin until you feel it become tacky. This will ensure that it is ready for the stencil to adhere to the skin properly.
If you leave it on for too long without sticking the stencil, it won’t stick properly, and you will need to start again. If you stick the stencil too soon, it will run and you will lose the integrity of the stencil.
Step 5: Apply Stencil
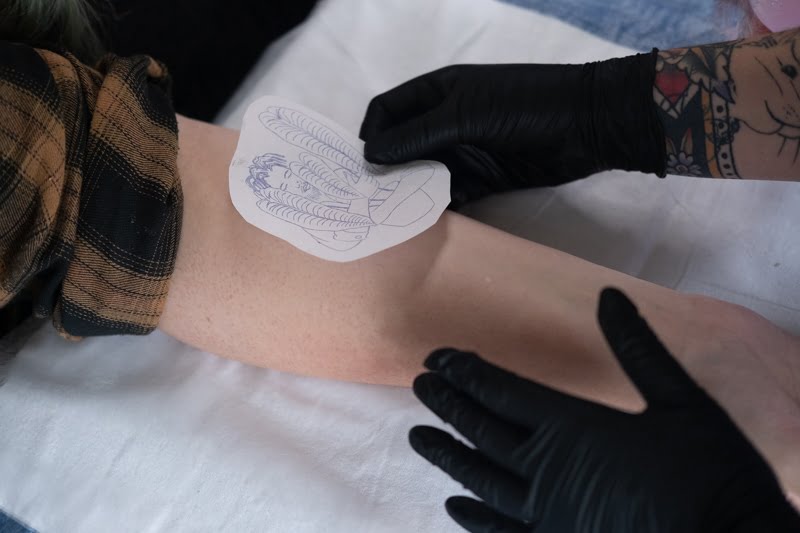
Hover the stencil over the skin until you are happy with the placement.
It is important that you stick it first go so that it doesn’t double.
Carefully press down, starting in the middle and working your way to the outside, ensuring that you have stuck all of the details down.
Step 6: Leave stencil on for 20 seconds
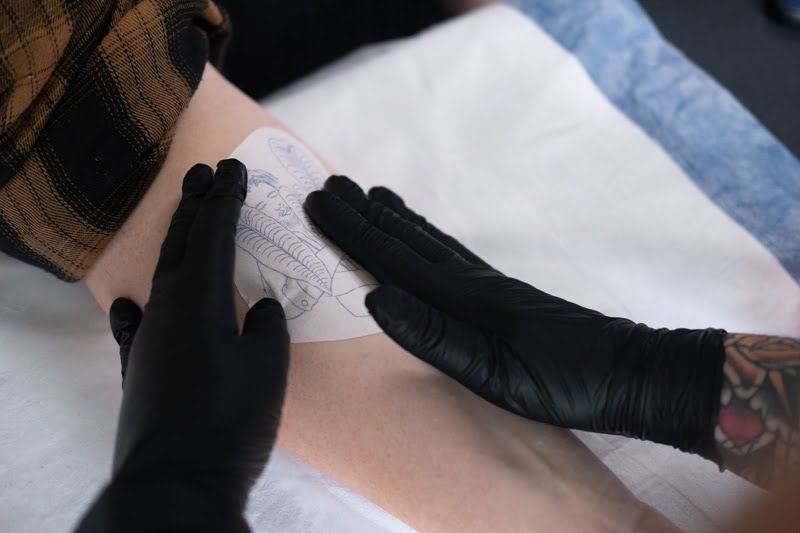
Leaving the stencil on the skin ensures that the stencil will be darker, so think about the needs of your tattoo with regard to this step.
Step 7: Remove stencil and gently pat dry with paper towel
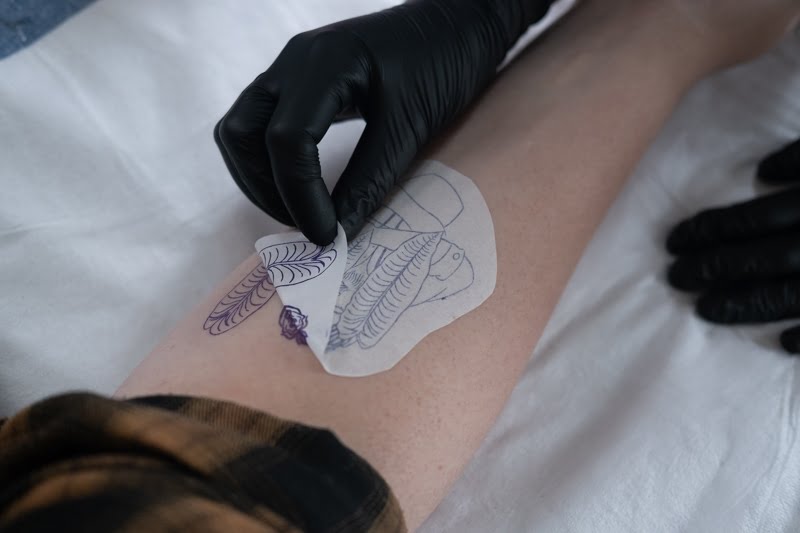
Carefully peel the stencil off the skin.
If you notice through the peeling process that you missed a spot, you can gently track it back and press down on the missing piece and continue peeling.
Once the stencil is removed, pat it dry with a piece of paper towel to get rid of any excess carbon which could smudge during the tattoo process.
Step 8: Let it dry for 10 minutes
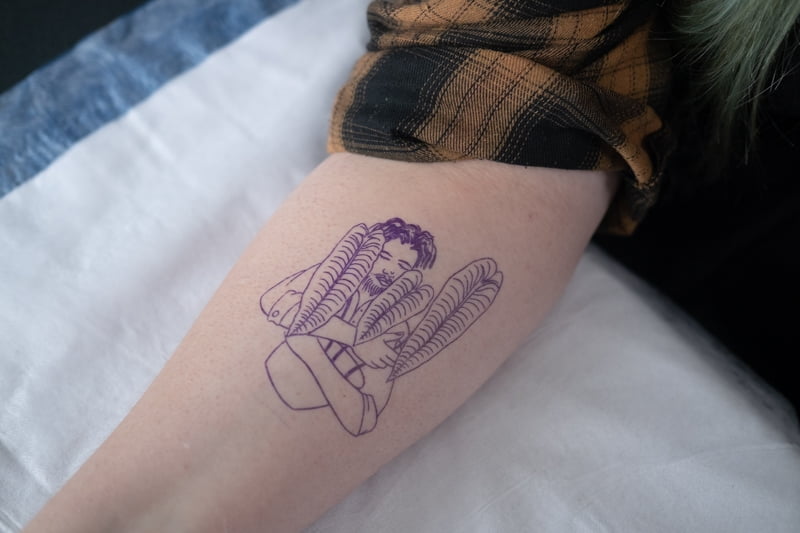
This is the perfect time to send your client out for a smoke or to catch a breath before you start the tattoo!
You can run to the bathroom or set up your machine while the stencil dries. If you start the tattoo too soon, you run the risk of the stencil not lasting passed your first wipe.
Step 9: Get ready to tattoo!
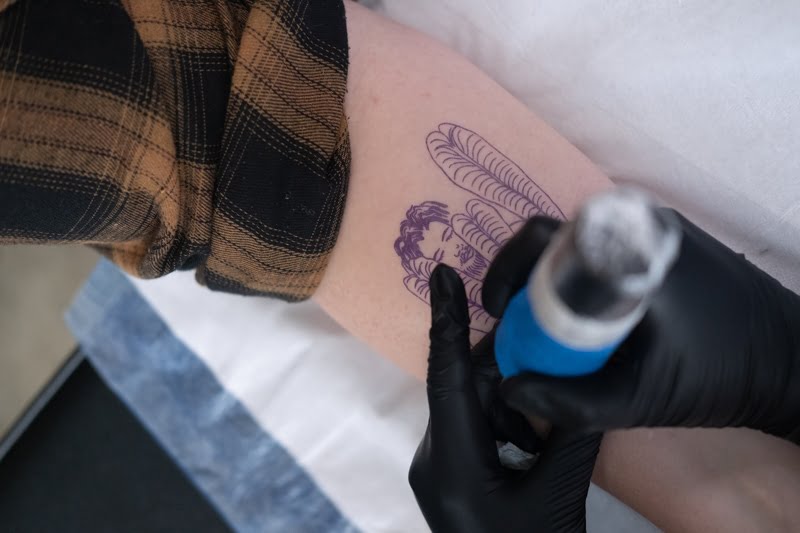
Now that your stencil is dry, you are ready to tattoo!
Remember to wipe away from your stencil, work from one side to the other, and keep it as dry as possible while you need it.
Summary
Your stencil is the foundation of your tattoo. Without a good stencil, you run the risk of starting your tattoo on a bad note.
Using your thermal transfer paper correctly and applying your stencil well is an important part of your tattooing process, and I hope this article has helped make your stencils a bit better!
I recommend you check out our various lists of the best tattoo inks, machines, and numbing creams that you can use in your tattoo career.
If you’re looking to stay up to date with new tattoo tools and techniques, we recommend visiting a tattoo convention.
